
How to create purchase orders
Purchase order settings
To set up your purchase order numbering;

- Click on 'Settings' and go to the company tab
- Select Documents
- Enter your purchase order prefix e.g. PO and the number that you'd want this purchase order to start at
- Click on 'Save Changes'
Now that you've sent your prefix and number each
Note; You may want to start the purchase order numbering after the last purchase order you created in your accounting system. Once you start to use Coreloops for purchase orders and sync to your accounting system this may interrupt with the numbering you have set up in your accounts system.
Creating Purchase orders
To create a purchase order:
- Head over to the documents tab in the sidebar
- Click on New and select "Create Document"

Now let's set up your purchase order.
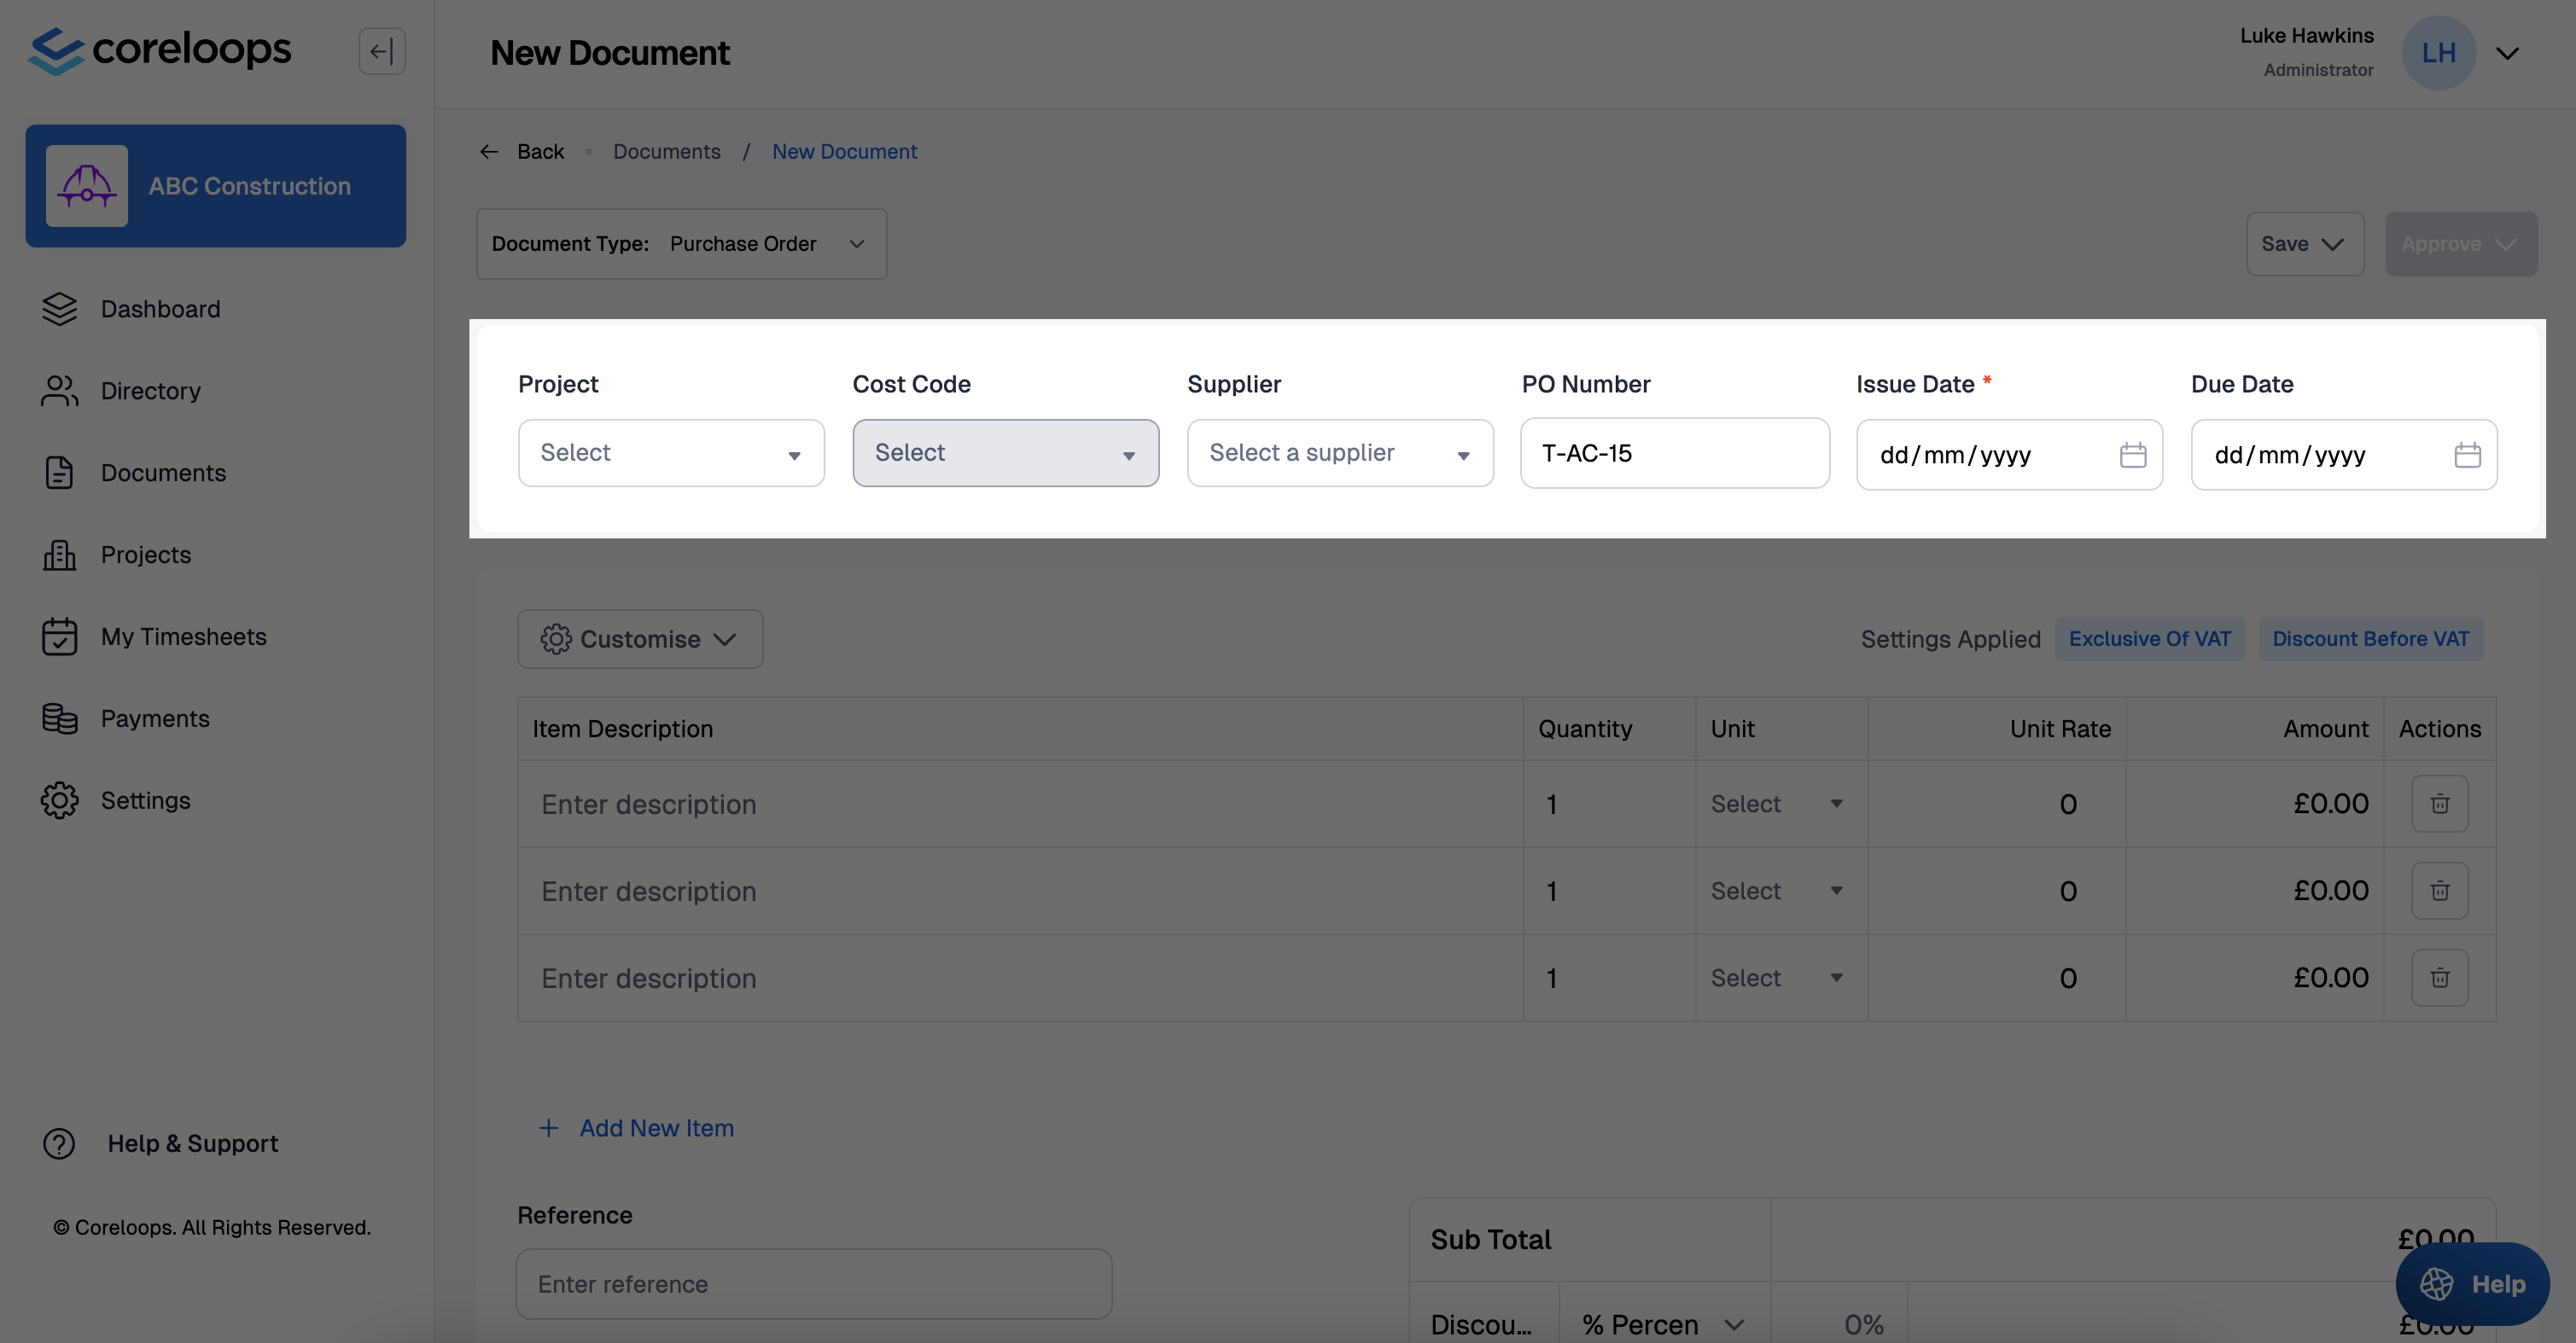
- Select the Project & cost code you want to allocate to this purchase order.
Note: You can split this purchase order and allocate each or several line items to different projects and/or cost codes. To do this click on the customise button.
- Select the supplier you want to send this purchase order to
- Update the issue date and due date if needed
Next, let's enter your items.
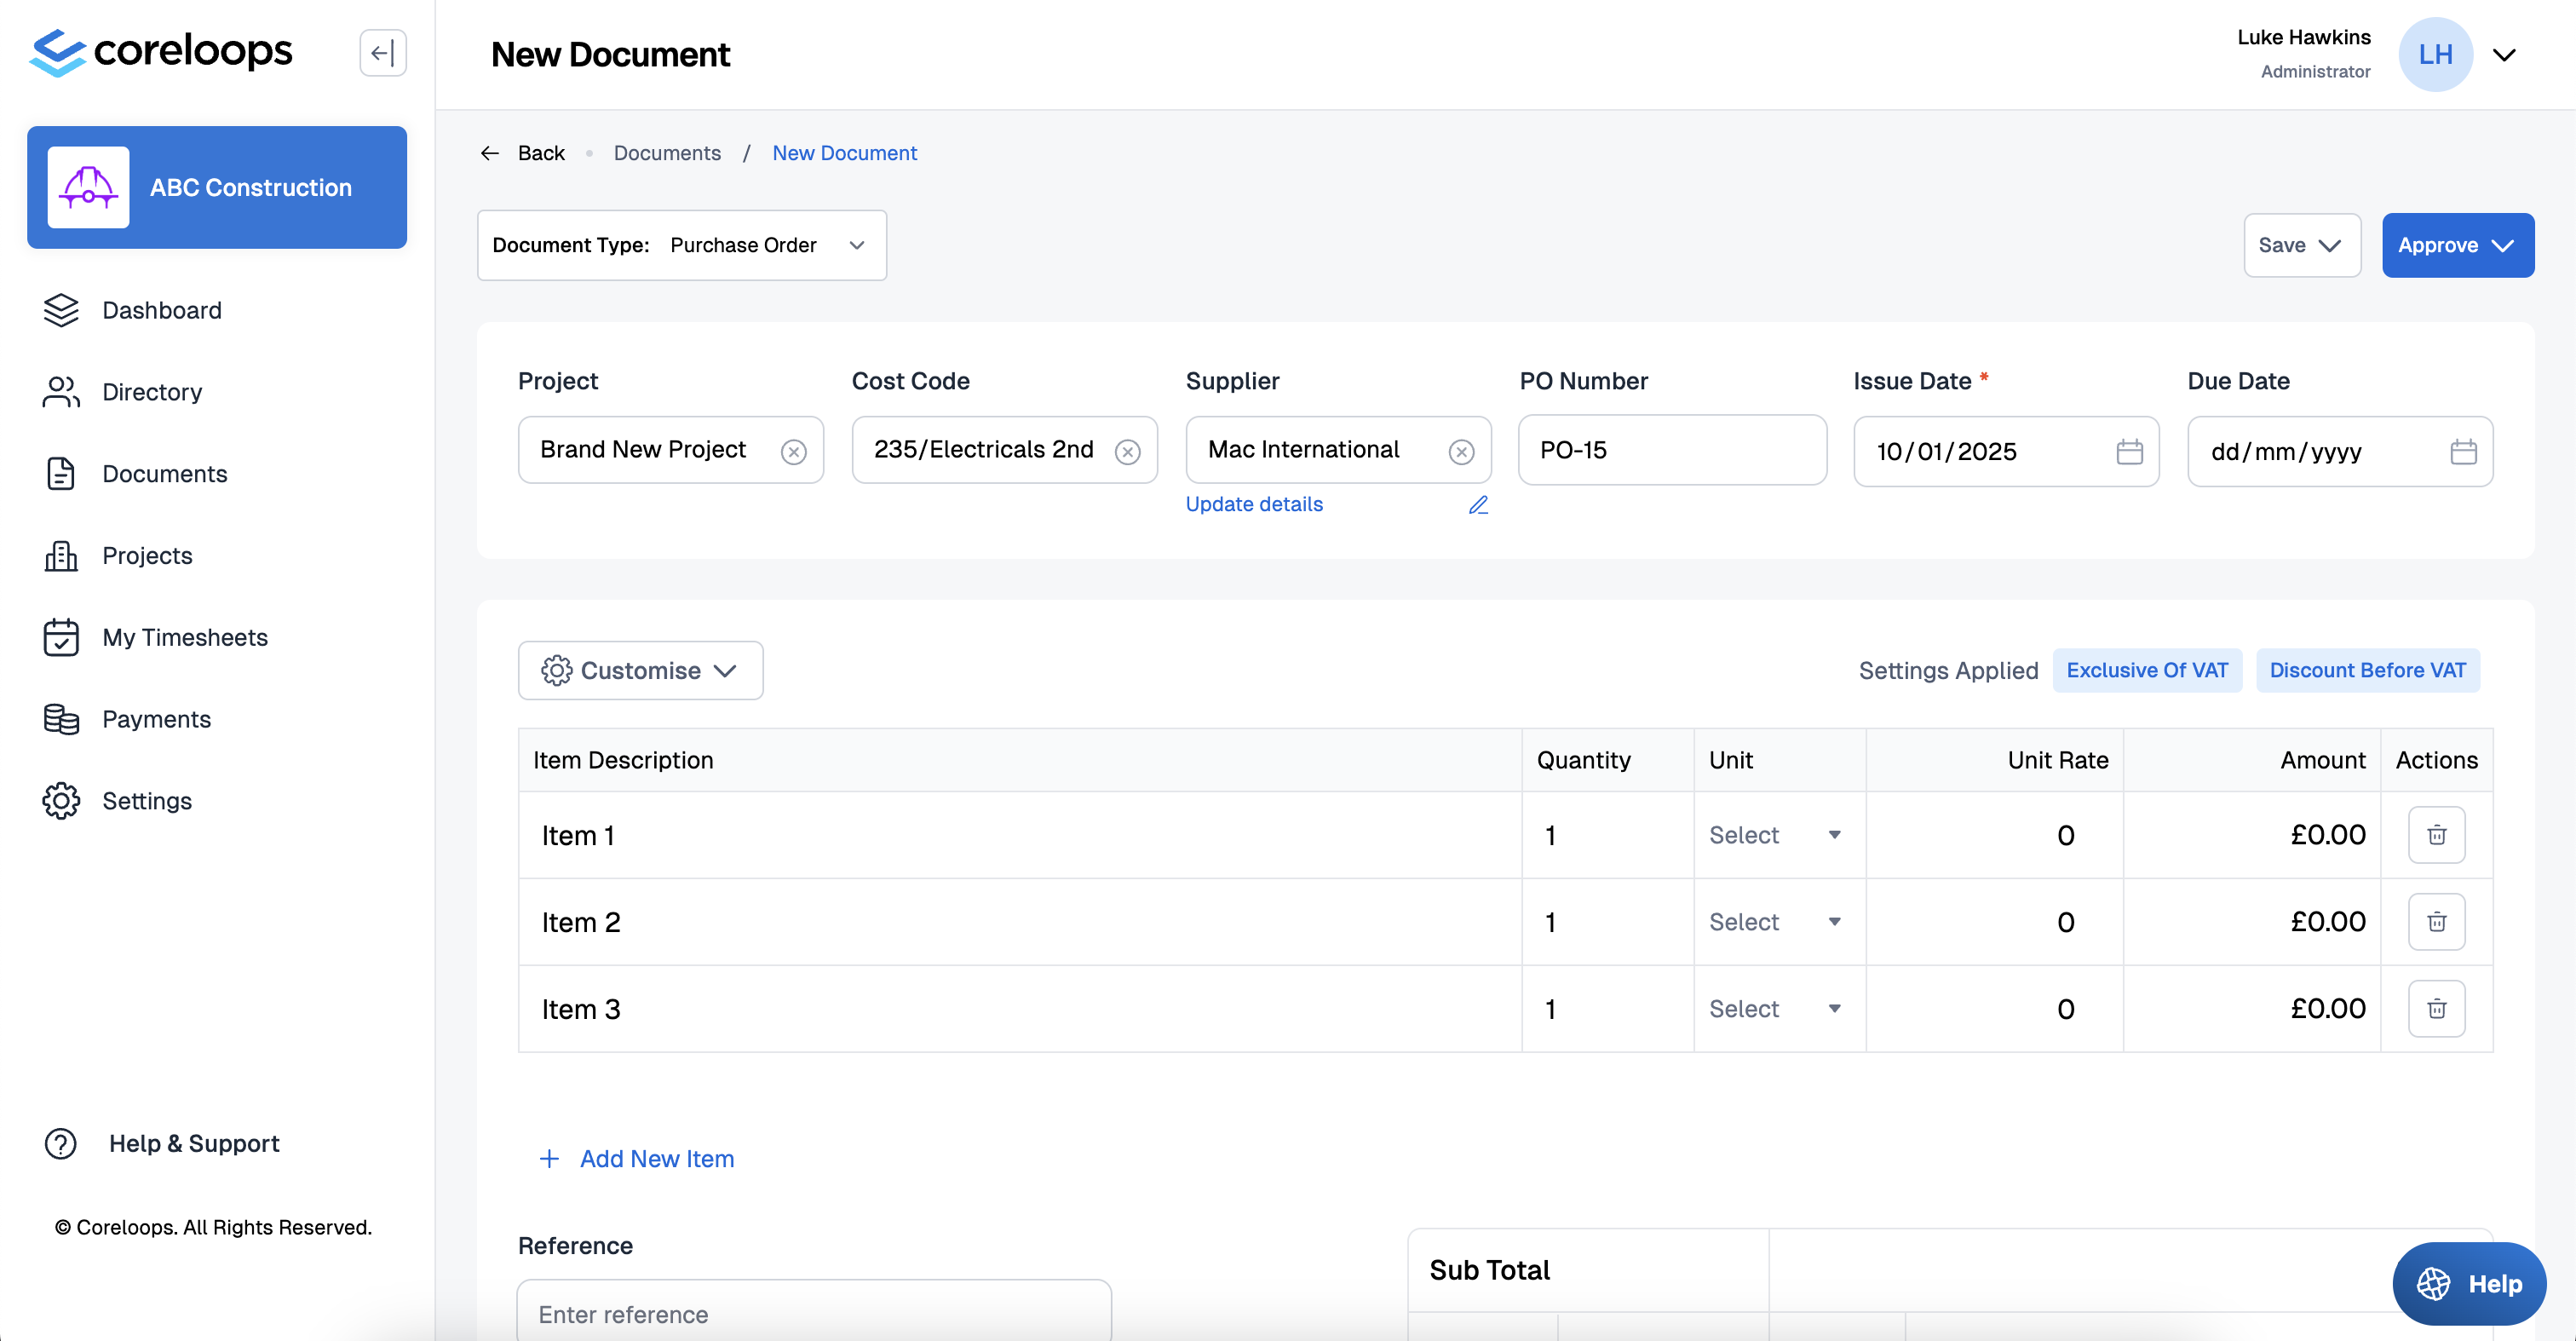
- Enter the item description, quantity, unit and unit rate for each line item.
- You can then set the VAT rate and apply any discounts to the purchase order subtotal.
- You can set discounts to be applied before (recommended) or after VAT
Allocate your purchase order to multiple cost codes
To allocate a purchase order to more than one cost code:
- Click on the 'Customise' button
- Check "Select multiple projects and cost codes"
- Select a project and cost code for each line item
Note: In your cost reports the purchase order will be split up and allocated to to the different cost codes you have selected.
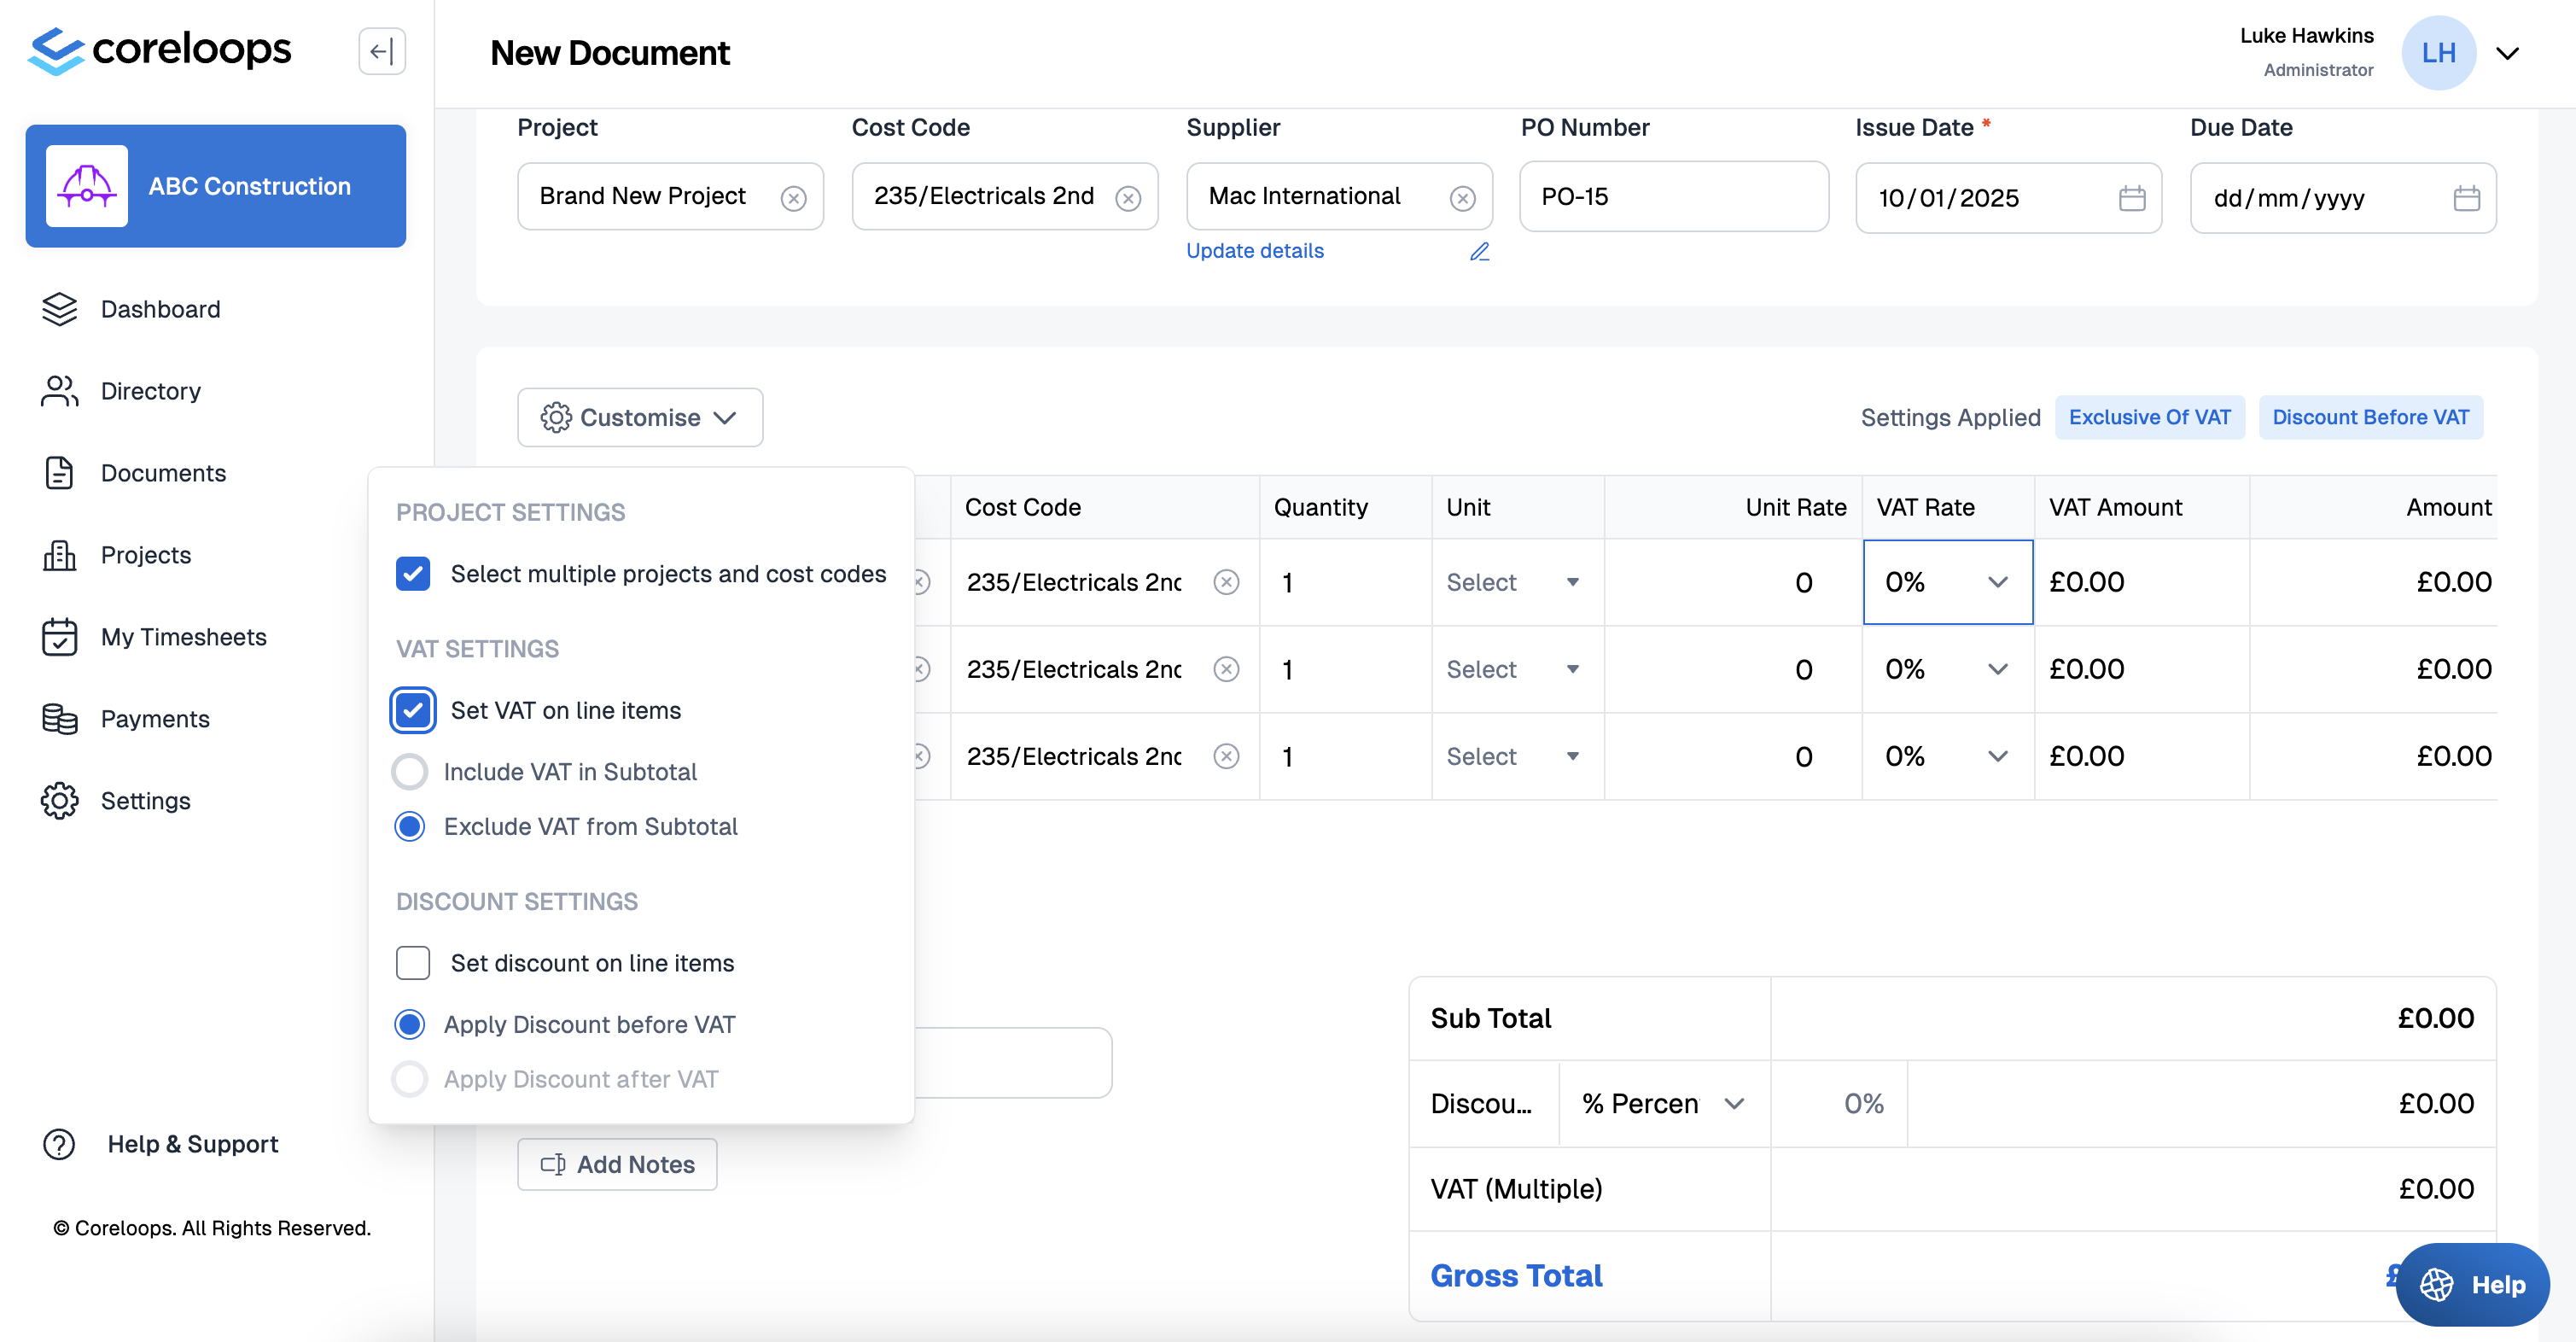
Set Different VAT rates for line items
To set different VAT rates for line items:
- Click on the customise button
- Check "Set VAT on line items"
- Set a VAT rate for each line item

Set Discounts on line items
To set different discount rates for line items:
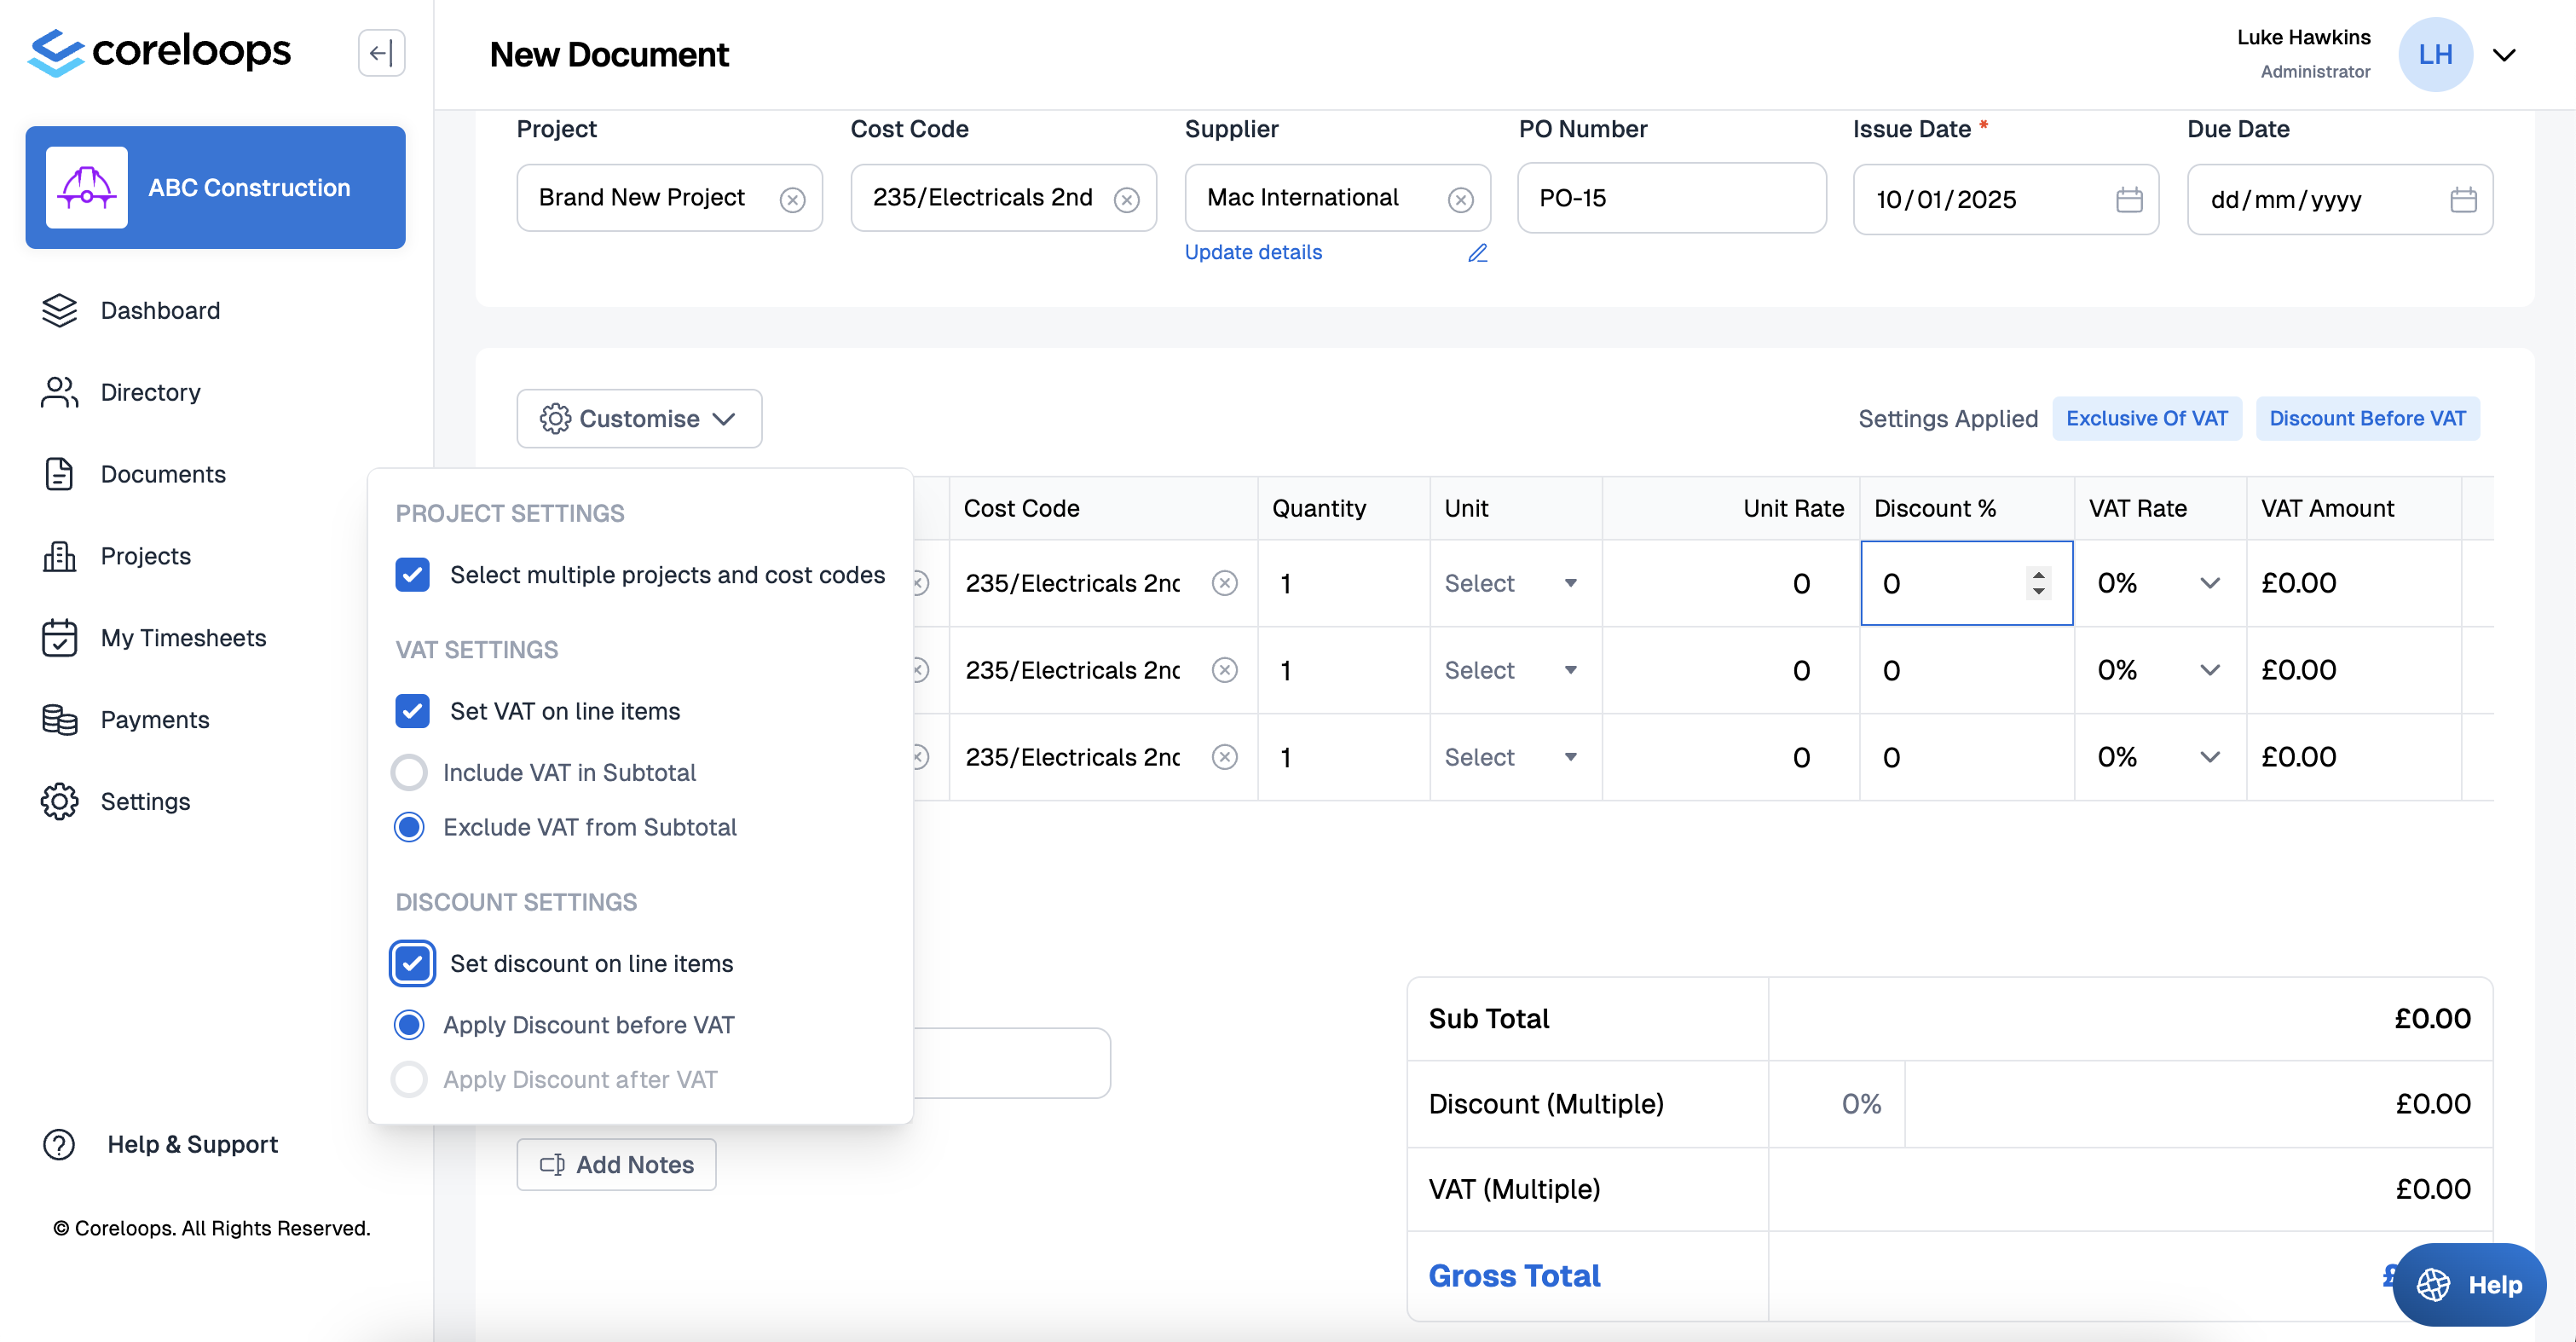
- Click on the customise button
- Check "Set discount on line items"
- Set a Discount rate for each line item
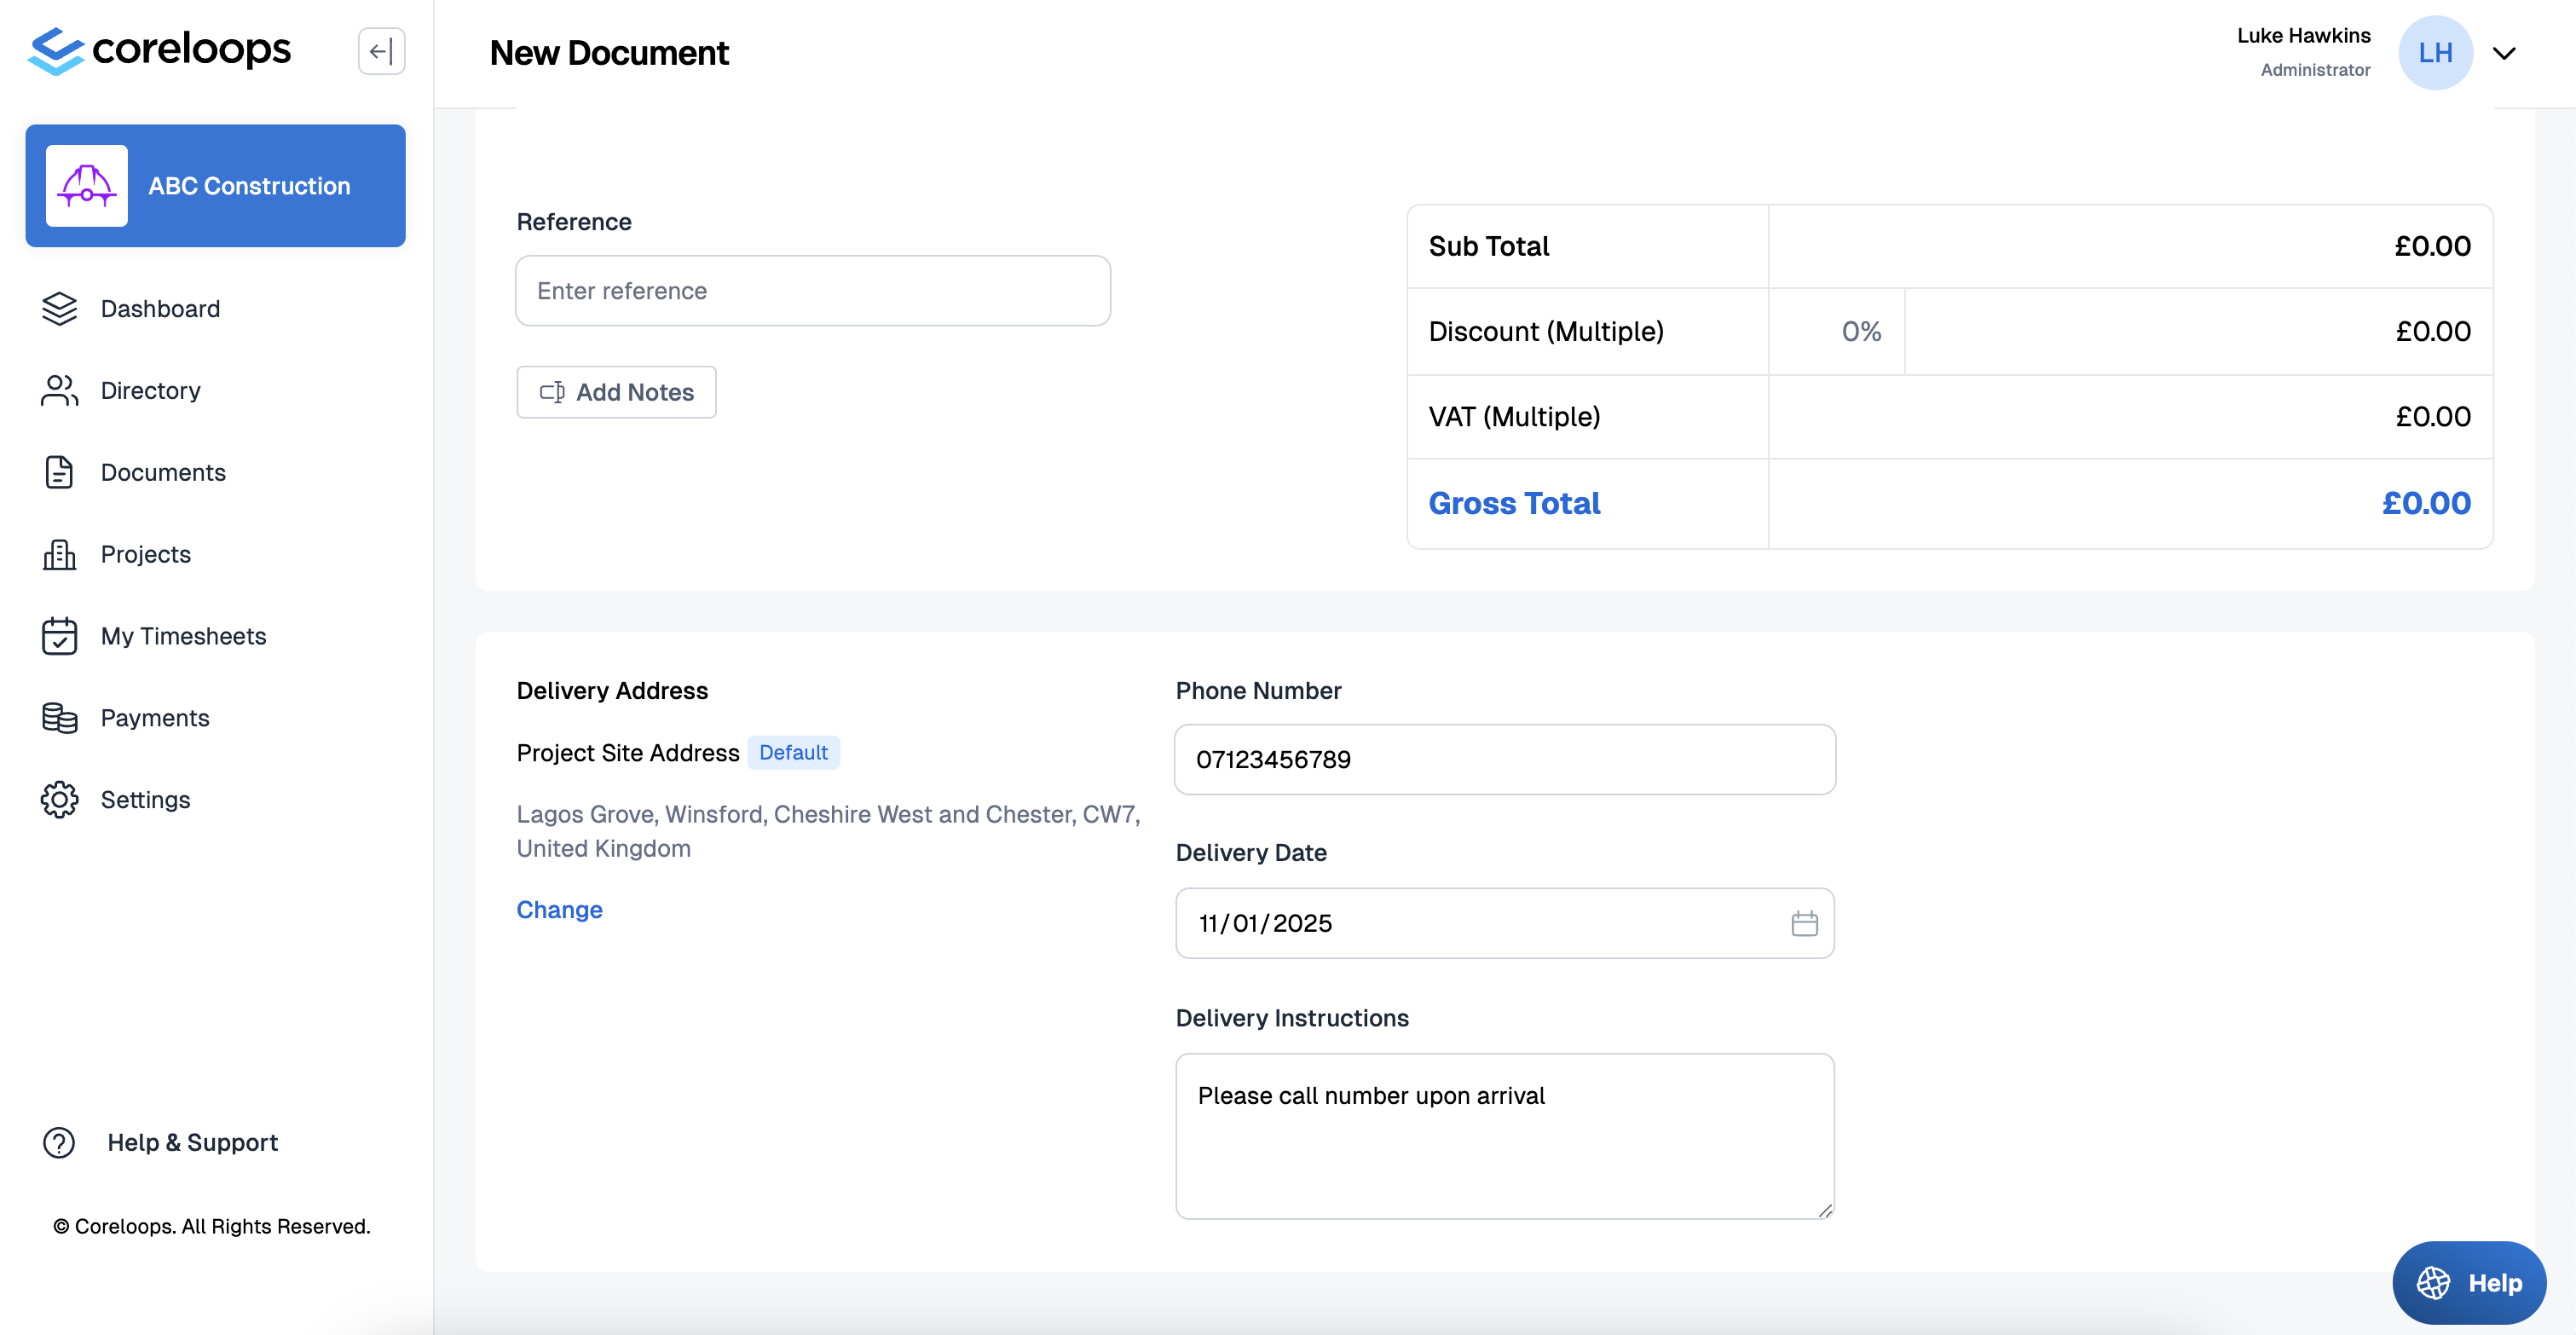
Set Delivery Details
To set a delivery address and details
- Navigate to the bottom of the page
- Click on set delivery Delivery Address
- Select from one of your saved addresses
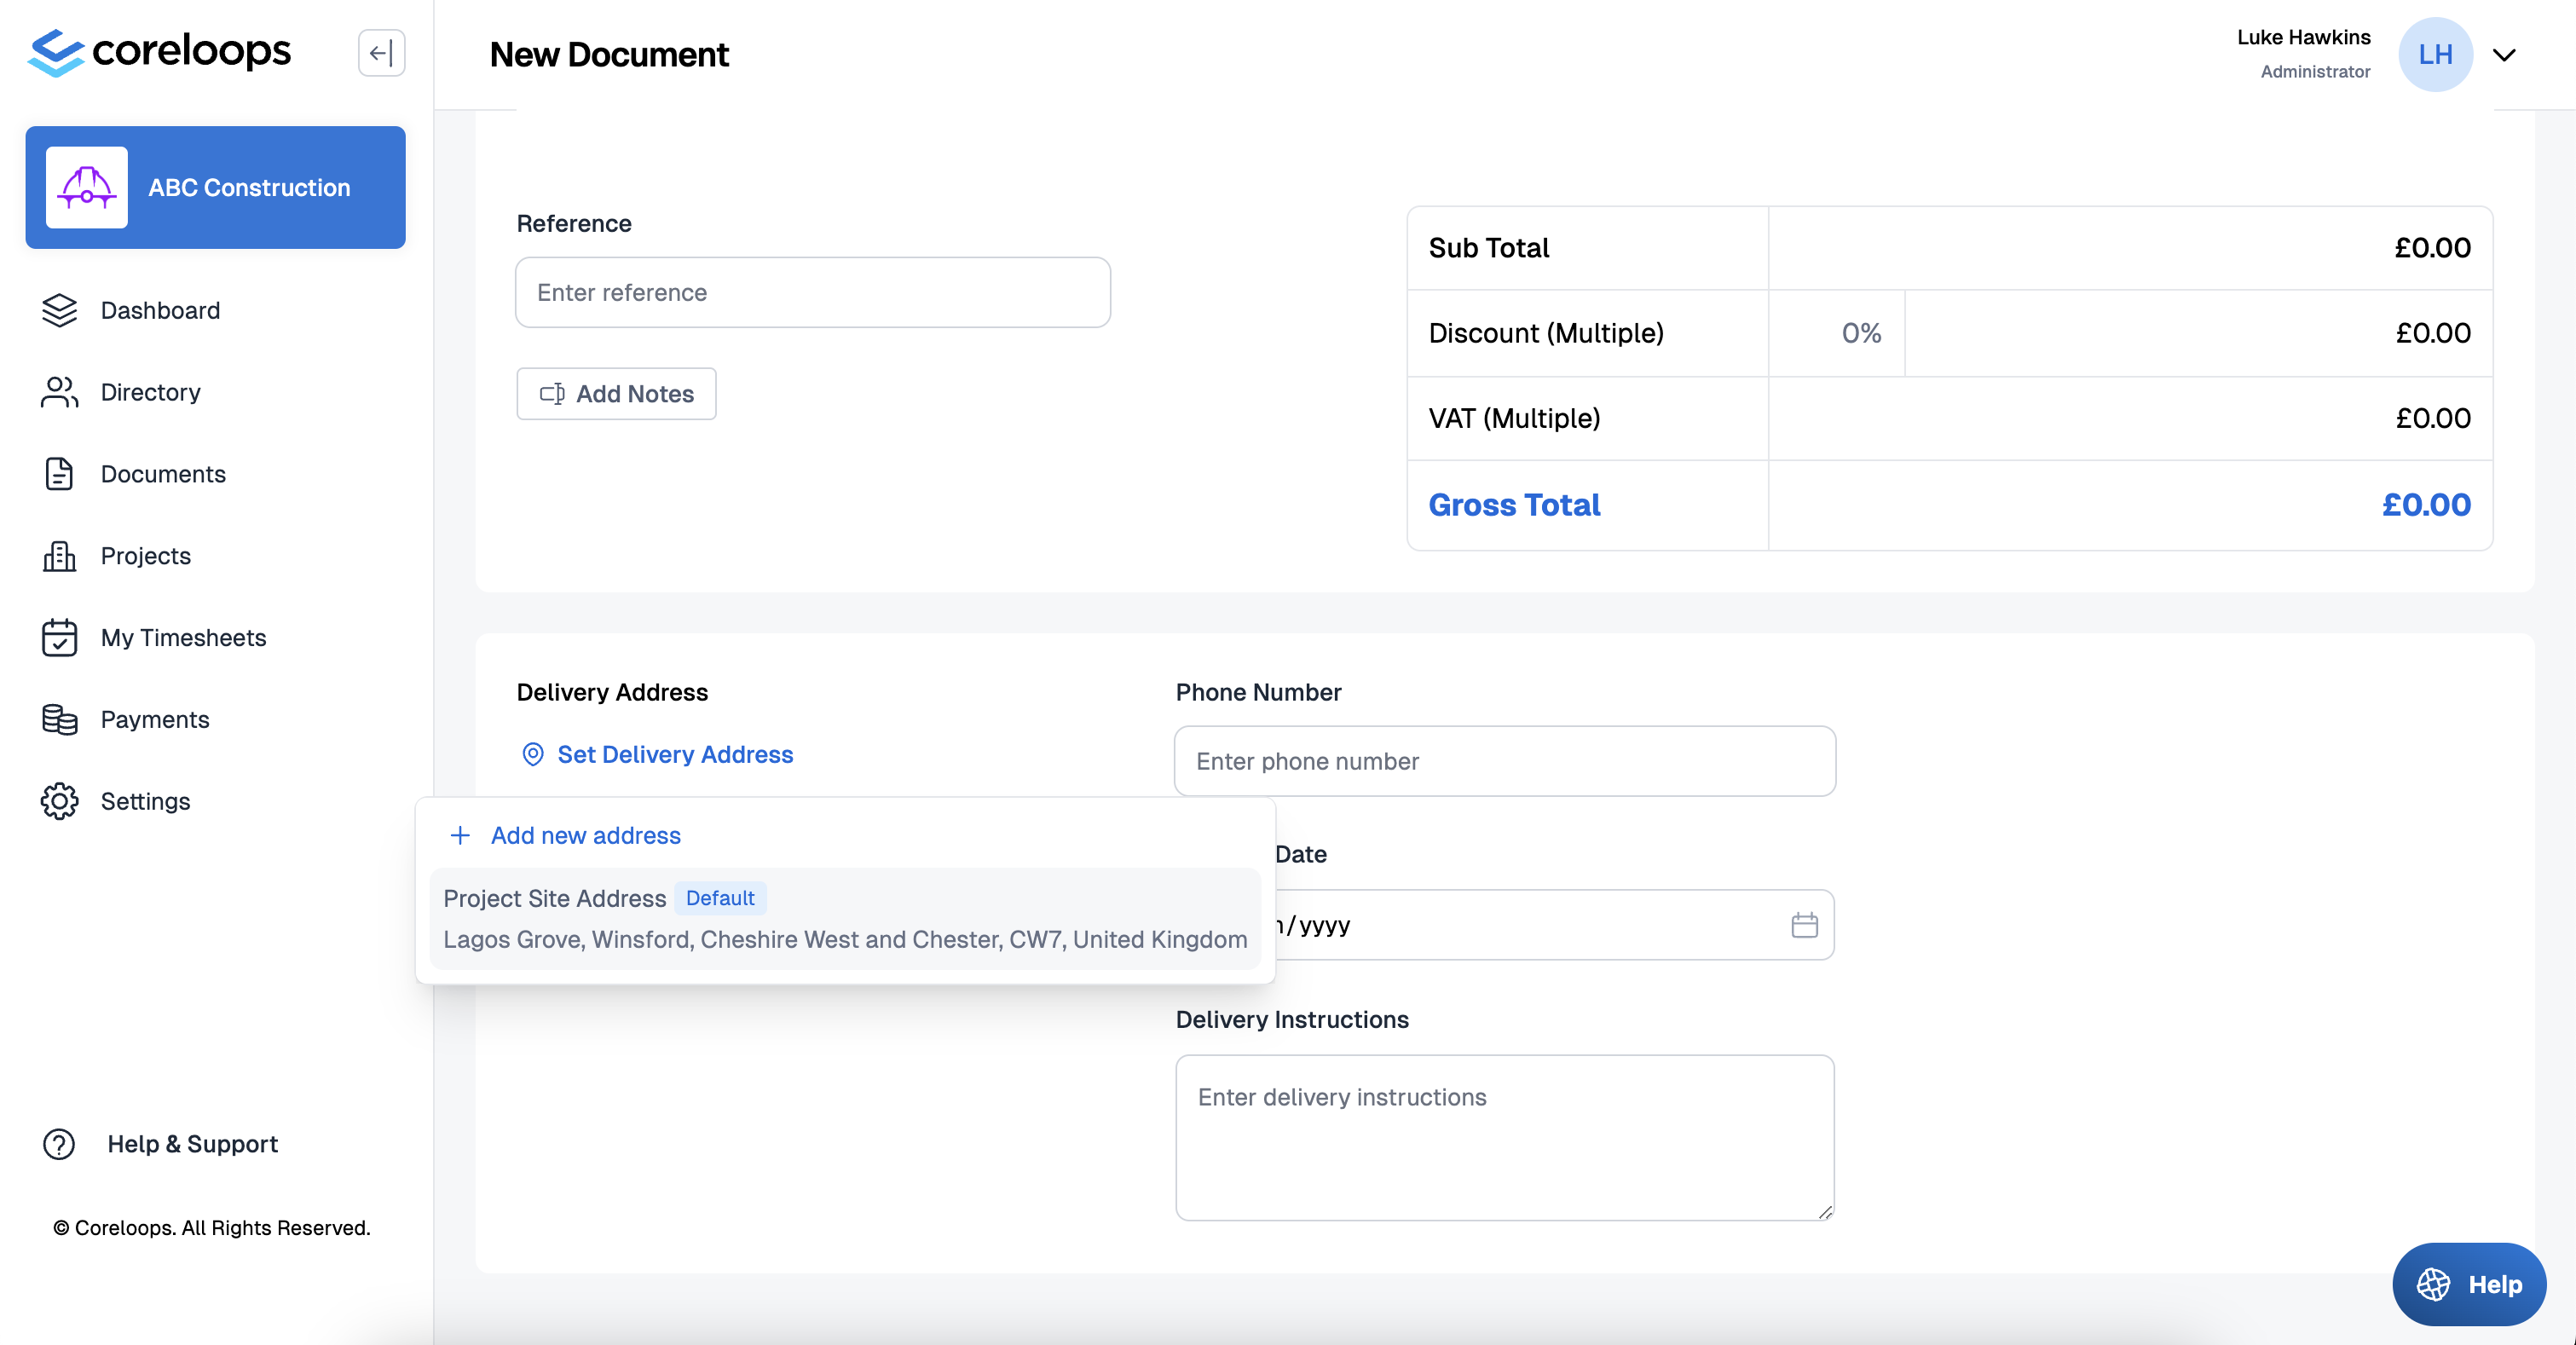
- Enter contact details & delivery instructions
Approve & Send Purchase Order
Finally, once you've completed the purchase order and it's ready to send to your supplier
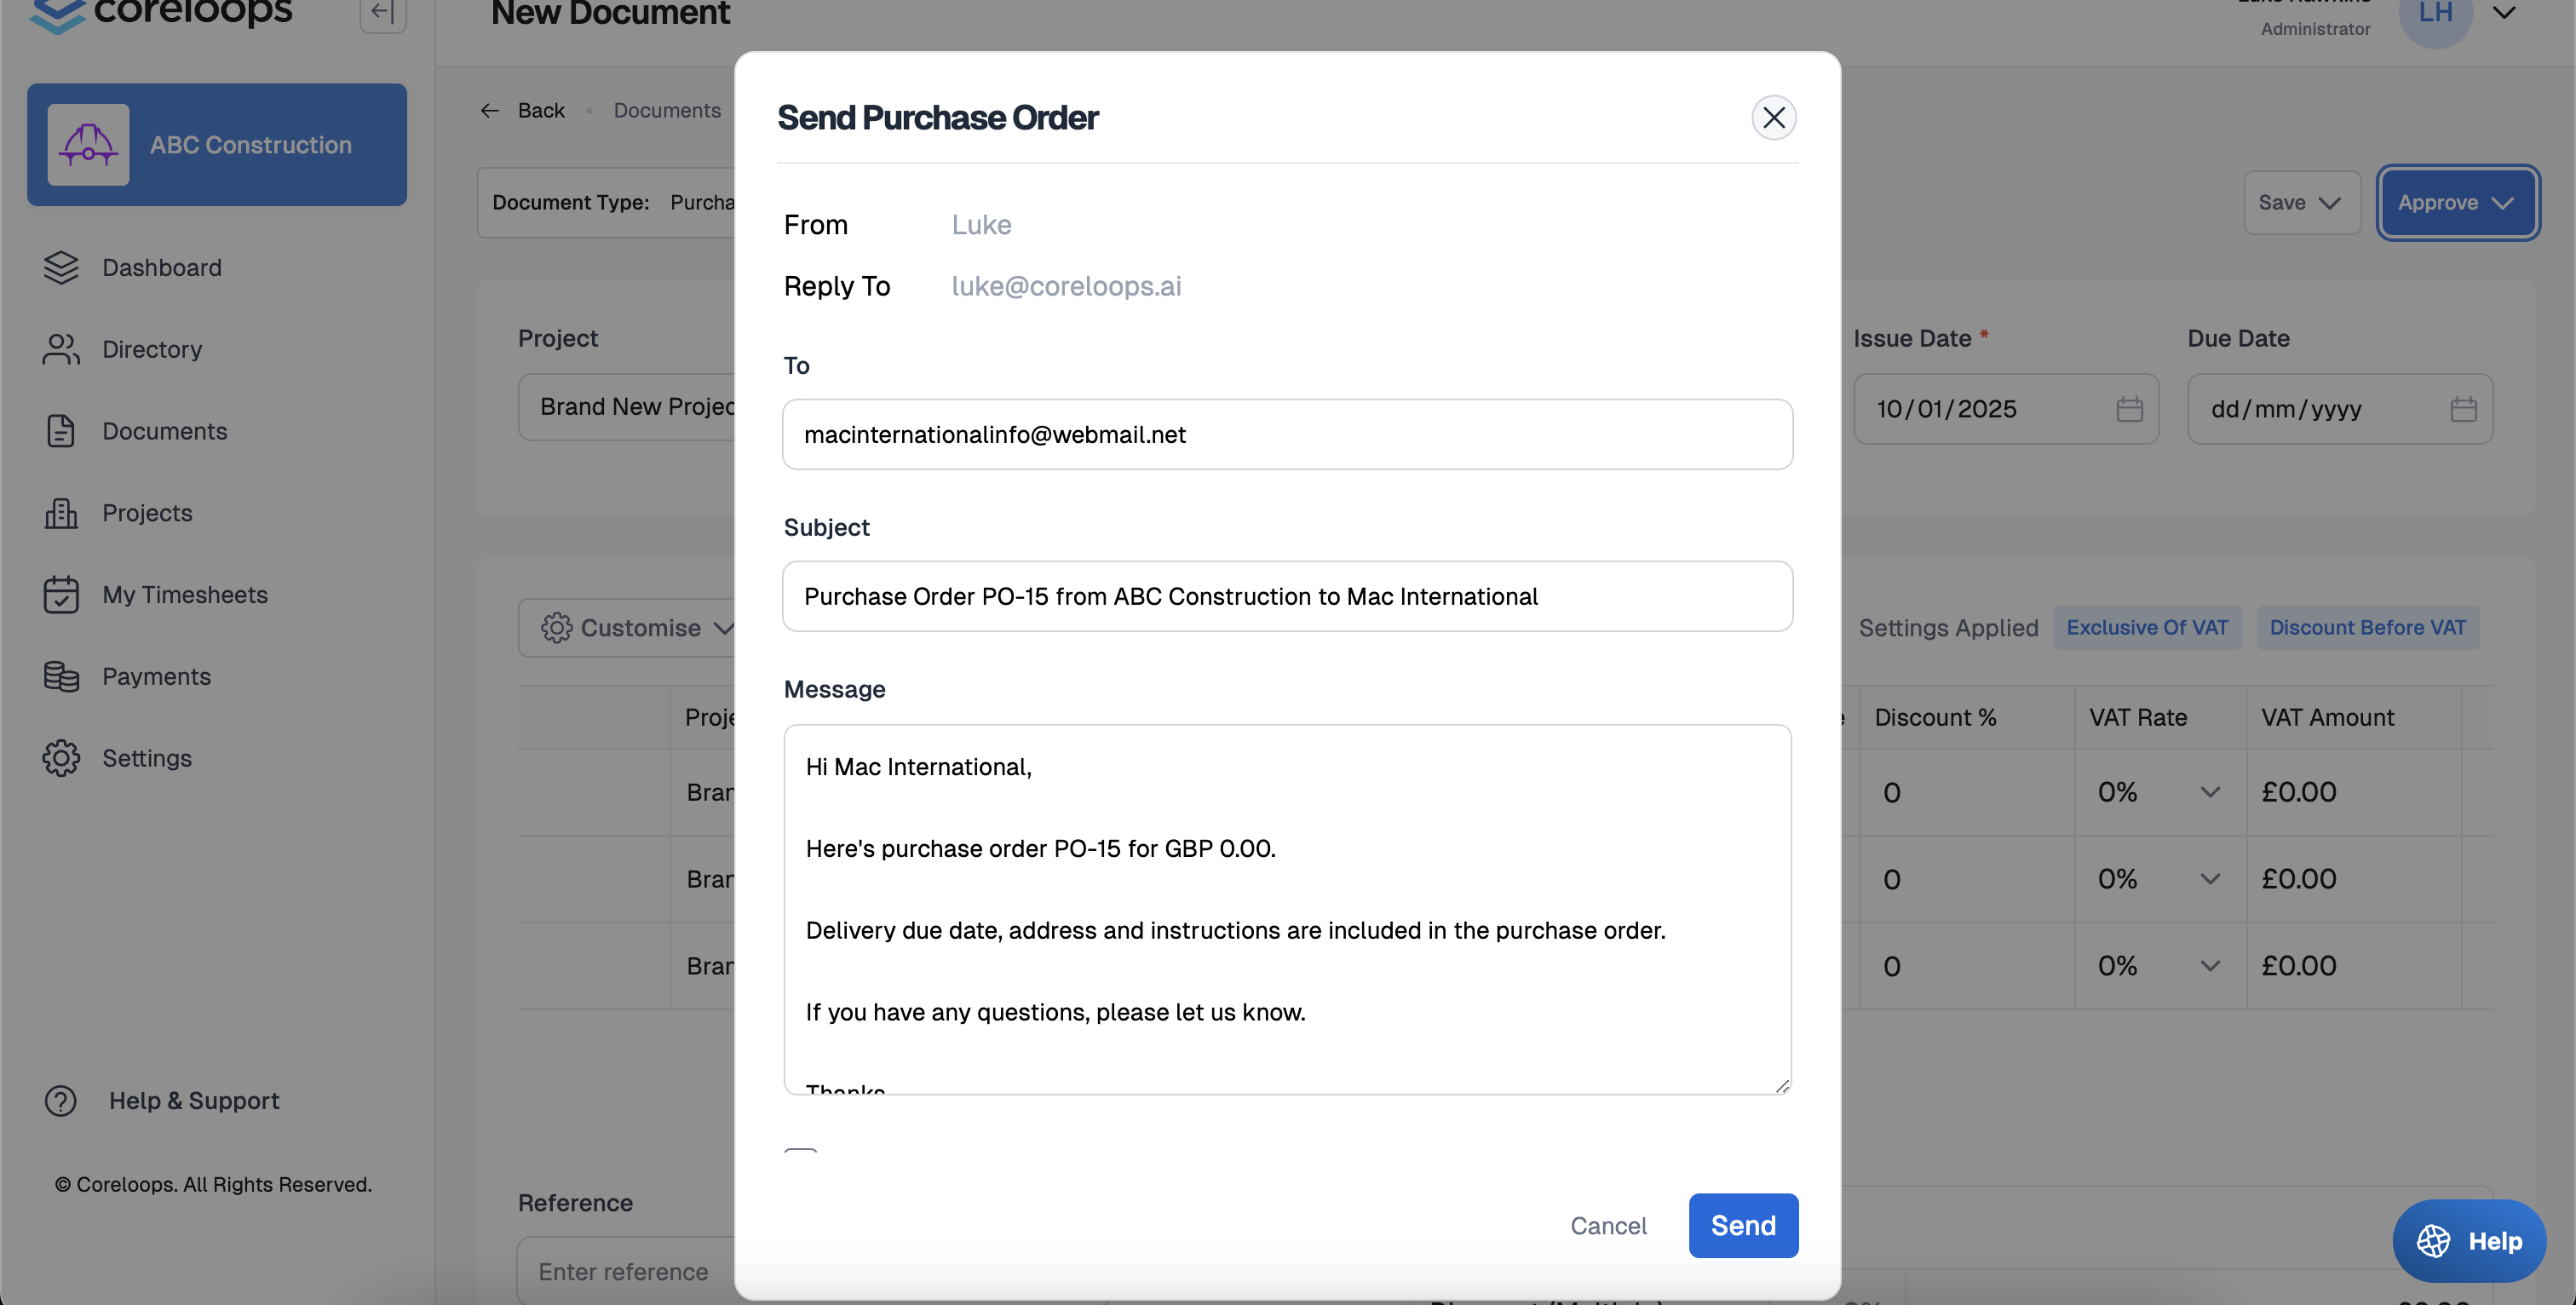
- Click on the approve button then click "Approve & Send"
- Review or update the message to your supplier
- You can choose to send a copy to yourself by checking the option.